Chrome Extension Installation
The PowerMemory Chrome extension adds memory to Gemini, Microsoft Copilot, and Perplexity. This page covers installing it and connecting your vault.
Coming soon to the Chrome Web Store
PowerMemory is currently in Chrome Web Store review. Once approved, you'll install it in one click — this page will be updated with the direct Web Store link.
Verify the extension is installed
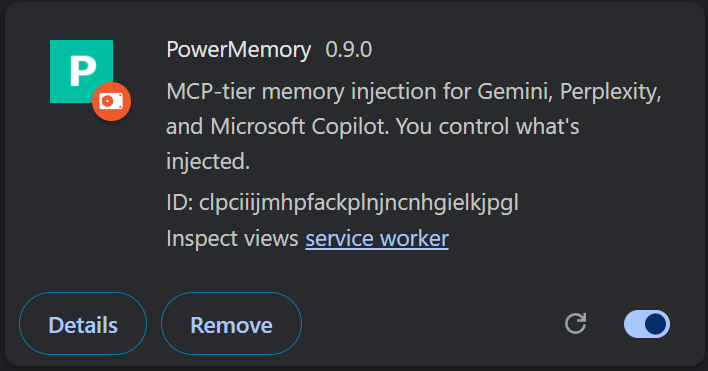
After installing, open chrome://extensions in Chrome. You'll see the PowerMemory card showing the current version and an enable toggle.
Note
The extension ID shown on your machine may differ from the screenshot — that's expected and not a problem.
Connect your vault
Click the PowerMemory icon in the Chrome toolbar (you may need to pin it from the extensions menu). The popup opens.
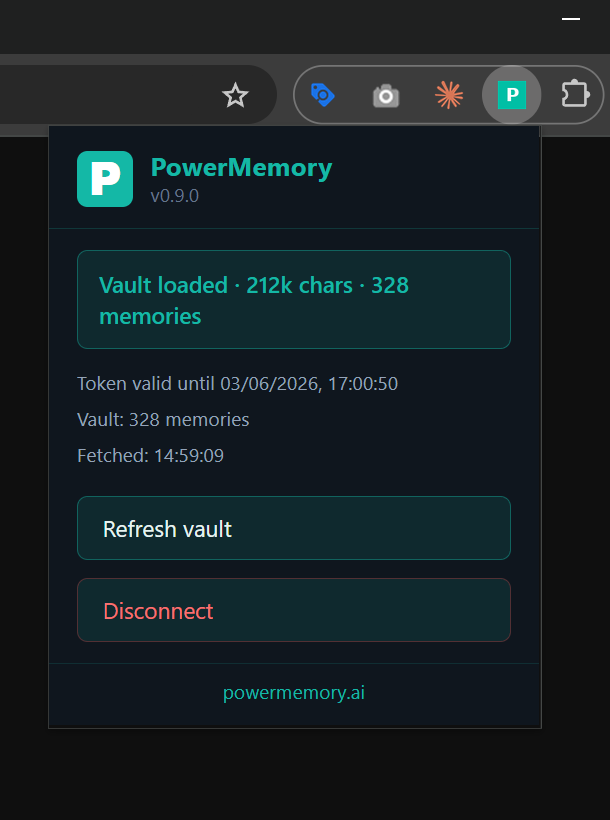
- If you're not signed in, click Connect to PowerMemory and complete the sign-in.
- Once connected, the popup shows your vault status — memory count, token validity, and Refresh vault / Disconnect controls.
You need a PowerMemory account first. Create one free if you haven't yet — see Account + Vault Setup.
Next steps
Installed and connected? Head to the Extension Guide to start saving and injecting memories.